Posts

Showing posts from July, 2011

Blender Low Poly Window Texturing & Unwrap
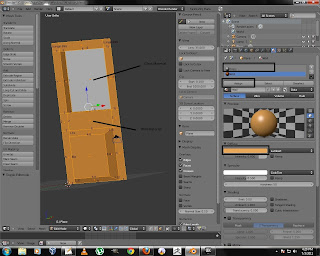
Image
OK, in our previous tutorial , we made a low poly mesh of window. in this tutorial, we will texture & export it for usage in UDK. So, fire up your blender and load the saved file. 1.    First select the Window Top Inset Panel ( I call it glass). 2.    In Material panel, select a new material by pressing New button & name it Glass. 3.    Give it any color by choosing it from diffuse panel. 4.    Press Ctrl+I to inverse your selection (Make sure, your mouse cursor is in 3dWindow. 5.    Now, Create one more material and name it wall. and choose a color to your liking. 6.    Press Assign button to assign the selected material to the walls of the window. 7.    now, your mesh has 2 different materials, which will come handy in UDK later on. All Materials Added 8.    Lets unwrap our mesh, so that we can put some textures on it. 9....

Blender Low Poly Window

Image
In this tutorial, I'll create a simple mesh, using blender 2.8 for UDK. i am planing to use this window mesh in ProcBuild option of UDK. I've tried my best to give the instructions step by step, but mistakes happen. OK,  let's go to tutorial 1. Start Blender (I have 2.58 Installed) 2. Delete the default cube 3. Select Front View by Pressing 1 on Keyboard. Then Orthographic view by pressing 5. Orthographic View 4.  Add a Plane (Press = Shift + A > Select Plane. 5.  Align the Plane to View (Tools Panel > Align to View Check box). 6.  Scale Plane on X Axis by 4 Blender Units ( Press = S > X > 4 ). 7.  Scale Plane on Z Axis by 8 Blender Units (Press = S > Z > 8). 8.  Press Shift+C on keyboard to align your 3dCurson in the middle of the canvas. 9.  Press G and move your plain by holding the Ctrl key so that it only move by a blender unit. Make sure that your plane is exactly aligned as shown in the pic. Origin @ 3d ...