Tip : Easy Toggle Render / Viewport Visiblity
Hi There.
Today, I will tell you about a little tip, which mostly blender users don't know about.
The tip is related to Toggling Render and Viewport visibility, which is a huge time consuming problem when it comes to lots of objects.
So, Let's begin.
First of All, Here are the Shortcut Keys for Grouping Objects.
Ctrl+G
Creates A New Group ( Visible in Property >> Objects >> Groups)
Ctrl+Alt+G
Removes from the Group (Shows a list of Groups, object is member off, select any)
Shif+Ctrl+Alt+G
Removes from every group (without any prompt)
Shift+Ctrl+G
Add Selected to Active Group (Just like "L" Menu)
Shift+Alt+G
Remove Selected from Active Group
It is necessary to keep One object in the Group, otherwise, your group will dissolve.
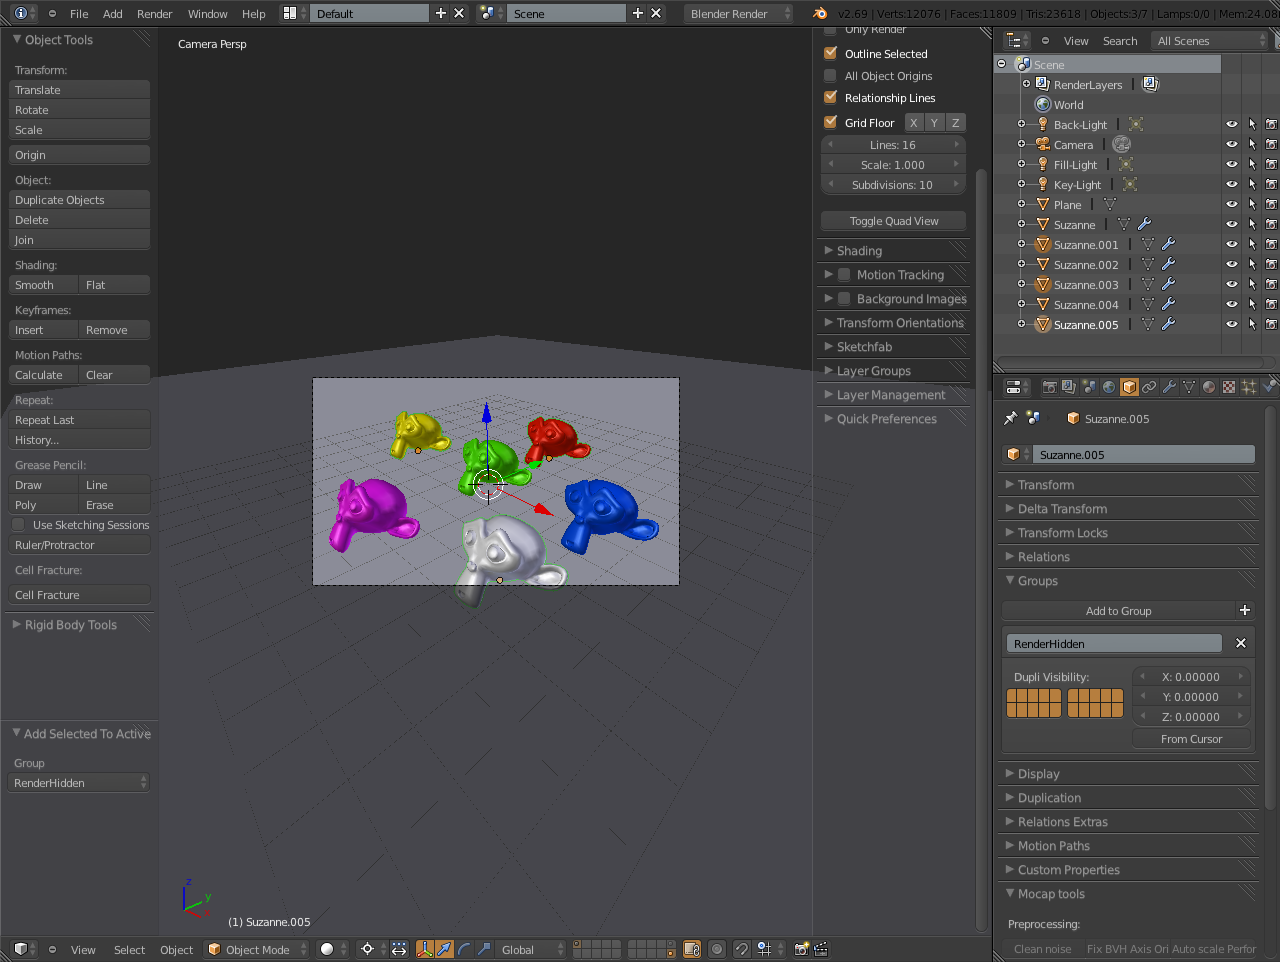
So, When i start working on a project with 10-20 objects, i usually create a dummy Object and Add it to a group (RenderHidden) and move it to the 20th Layer. This way, I am able to work without any hinderance. ( I create 2 different Groups, 1 for Render and 1 for ViewPort visibility Toggle)
Create The first ojbect.
Press Ctrl+G to give it a Group and Name your Group "RenderHidden".
Move the Object to the 20th Layer (Key "M").
Add several objects in 3d View. ( I have Added Suzzane and Gave them Colors).
Select any number of ojbects and make sure that 20th Layer is visible. Select the Grouped object
which we moved to 20th Layer in the last and Press Shift+Ctrl+G.
Setup your Camera for Render.
In Outliner Drop Down, Select Groups.(It shows all of your groups. Mine only has 1 RenderHidden).
Toggle the Render (Camera Icon) Off.
Render by Pressing F12 on Keyboard.
If you are using downloaded blend file, then Yellow and Red Suzzane won't show up in render.
Thats it.
Thanx for Reading :)
Link To Blendfile : EasyHide


Very good tip...with the light and material's option for groups in the render layer.
ReplyDeleteI finded not in the firt time but nice!
Thanks Spirou4D and Sorry, that i forgot to mention that my camera and lights are in 10th Layer.
Delete