Posts

Tip : Build Modifier | Blender3d

Hi, Today, I was playing with modifiers and stumbled upon Build Modifier. This modifier is cool in a sense, that it allows you to see your pre made mesh , created step by step in front of you like an animation. Take a look. The best thing is , it is very easy to use. Just create your model. Join all the parts and Add the build modifier. Start   lets you select the frame number, from where to start the build up animation. Length allows you to set up the number of frames, your animation is based on. Seed randomizes the face build up sequence ( It is dependent on the Blend Internal Datablocks creation order). You can change the build up sequence by select Sort Mesh Elements >> Space Bar Menu . Here is the link to Official Documentation Build Modifier
Tip : Easy Toggle Render / Viewport Visiblity

Image
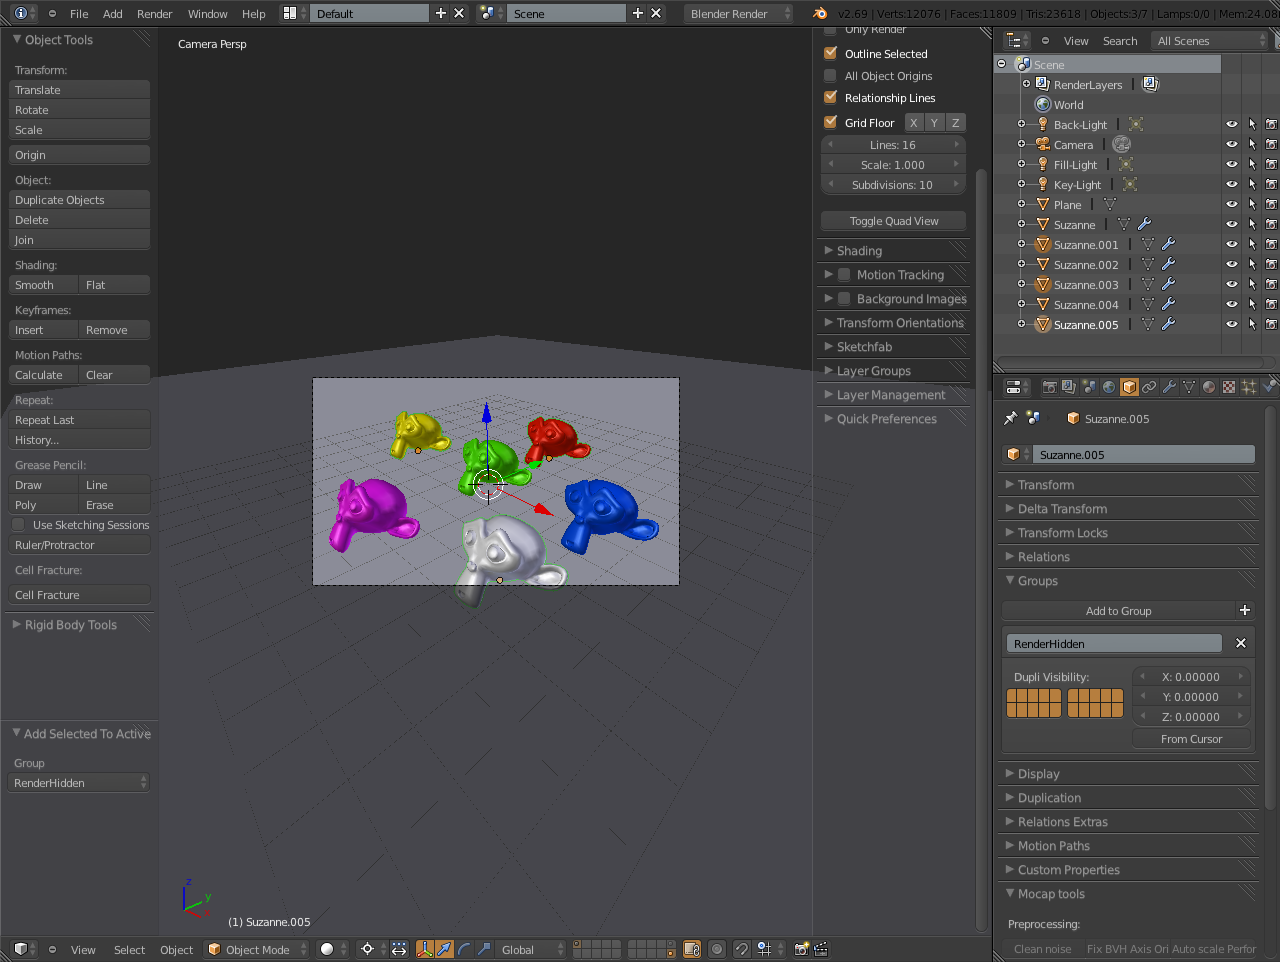
Hi There. Today, I will tell you about a little tip, which mostly blender users don't know about. The tip is related to Toggling Render and Viewport visibility, which is a huge time consuming problem when it comes to lots of objects. So, Let's begin. First of All, Here are the Shortcut Keys for Grouping Objects. Ctrl+G Creates A New Group ( Visible in Property >> Objects >> Groups) Ctrl+Alt+G Removes from the Group (Shows a list of Groups, object is member off, select any) Shif+Ctrl+Alt+G Removes from every group (without any prompt) Shift+Ctrl+G Add Selected to Active Group (Just like "L" Menu) Shift+Alt+G Remove Selected from Active Group It is necessary to keep One object in the Group, otherwise, your group will dissolve. So, When i start working on a project with 10-20 objects, i usually create a dummy Object and Add it to a group (RenderHidden) and move it to the 20th Layer. This way, I am able to work without any hinderance. (

UV-Projection Modifier - Blenders Way to Model for Game Engines

Image
You can use this with Projection Mapping Modifier. I have added 6 cameras for projection mapping (Layer 2). You can easily extrude and manipulate your texture size as well. No need to unwrap the model. Just apply the Modifier and you are good to go Step 1: Add A Cube and in edit mode, just unwrap (default, without seams) and keep it selected. Step 2: Move to front View, by Pressing 1 on NumPad. Step 3: In modifier Panel add "UVProject" to Cube. Step 4: In "UVProject" load Image of your liking (This will be projected on the mesh. Tileable Image is good choice. Also select cube uvmap. Step 5: Deselct Cube and Select Default Camera. Step 6: Press Ctrt+Alt+0 on NumPad to move your camera view in front. From here you can adjust the size of Image Projection (How big or small you want your texture to show up) . (NOTE : Ensure your camera lens is Orthographic, otherwise, your texture is going to scale, as soon as you go near the camera). Step 7: After you a

Color Palettes in Blender

Image
Hi There, Recently, i saw a post on a forum , where a user was very puzzled with color usage during Texture Painting of his mesh. It seemed that people are not aware of another hidden (infact it is right there in front of our eyes) feature of blender , The Color Palette . So, today, we'll try to get some knowledge about Color Palette and how to use them. In this tutorial, i am using blender 2.69 (official version). It is not necessary, but you can unwrap your box , assign a texture, before moving forward. You are required to create a folder , where you want to save the color palette, which we will make in this tutorial. Ok, lets get started. Select Texture Paint Mode in 3d View. My Current setup is like this. Initial Setup Select the Corner Anchor of the Color Palette Properties, and move it below the Brush Properties. Color Palette Moved Expand Color Palette Properties. In the last line, there is a Folder Button, which allows you

Modfiy Premade Blender Skeletal Mesh & Export to UDK.

Image
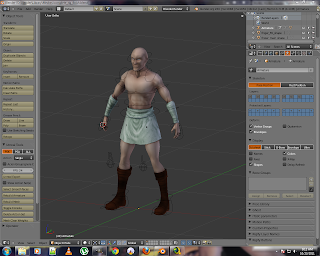
Today, I'll modify a ready made skeletal mesh , rigged with Riggify for export to udk. Basic Model & Rig were made by Lee Salvemini ( Sintel & Elephants Dream ) in a very detailed rigging tutorial hosted here . I'll be using Blender 2.60 with Darknet's Psk/Psa exporter version 2.3. I strongly recommend you all to step by step work with Lee's tutorial, to grasp the rigging concepts of Blender. It helped me a lot. For impatient, please download the file. http://cgmasters.net/blenderguru/complete_rig_finish.blend Mesh & Armature used in tutorial are not my property and are not usable in commercial application or usage. I am using them just for educational purpose. If you like to use them in your project, please contact the original owners. Ok, Lets get started. Start Blender & Load "comlete_rig_finish.blend". complete_rig_finish.blend Go to Object Data Tab -> Display Options and uncheck Shape and check X-

Blender Low Poly Window Texturing & Unwrap

Image
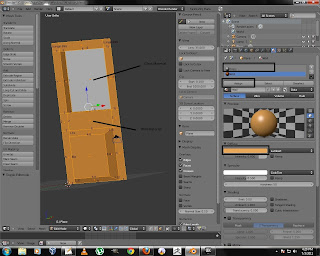
OK, in our previous tutorial , we made a low poly mesh of window. in this tutorial, we will texture & export it for usage in UDK. So, fire up your blender and load the saved file. 1.    First select the Window Top Inset Panel ( I call it glass). 2.    In Material panel, select a new material by pressing New button & name it Glass. 3.    Give it any color by choosing it from diffuse panel. 4.    Press Ctrl+I to inverse your selection (Make sure, your mouse cursor is in 3dWindow. 5.    Now, Create one more material and name it wall. and choose a color to your liking. 6.    Press Assign button to assign the selected material to the walls of the window. 7.    now, your mesh has 2 different materials, which will come handy in UDK later on. All Materials Added 8.    Lets unwrap our mesh, so that we can put some textures on it. 9.    Arrange your window changing your time line window to UV Image Editor. Windows Arranged for UV Wrapping

Blender Low Poly Window

Image
In this tutorial, I'll create a simple mesh, using blender 2.8 for UDK. i am planing to use this window mesh in ProcBuild option of UDK. I've tried my best to give the instructions step by step, but mistakes happen. OK,  let's go to tutorial 1. Start Blender (I have 2.58 Installed) 2. Delete the default cube 3. Select Front View by Pressing 1 on Keyboard. Then Orthographic view by pressing 5. Orthographic View 4.  Add a Plane (Press = Shift + A > Select Plane. 5.  Align the Plane to View (Tools Panel > Align to View Check box). 6.  Scale Plane on X Axis by 4 Blender Units ( Press = S > X > 4 ). 7.  Scale Plane on Z Axis by 8 Blender Units (Press = S > Z > 8). 8.  Press Shift+C on keyboard to align your 3dCurson in the middle of the canvas. 9.  Press G and move your plain by holding the Ctrl key so that it only move by a blender unit. Make sure that your plane is exactly aligned as shown in the pic. Origin @ 3d Cursor